How to Upload AWS files with Shop Uploader
Updated Oct 3, 2022
3 min read
Uploading your digital files and images to Etsy is vital to running your shop. Without images, your customers won’t know what they are buying. Without digital files, your customers will complain they did not get what they purchased. This article covers how to upload digital files and images from Amazon Web Services (AWS) to Etsy using Shop Uploader.
This article covers:
- How to upload a file to AWS
- How to get a sharable url from AWS
- How to enter the information into Shop Uploader
How to upload AWS files and images to Etsy using Shop Uploader?
To upload your AWS documents to Etsy, you need to obtain shareable urls. You can get these links by navigating to the file on AWS. All you need is the file's object URL.
How to upload a file to AWS
To upload a file to AWS, first log into your account. Next, click the “Upload” button. This takes you to the AWS upload page. On this page, you can upload files by clicking the “Add files” button or by using file explorer.

File Explorer
If you choose file explorer, navigate to your file’s location. Then select your files and drag and drop them onto the webpage. Once selected and added to AWS, click the “Upload” button at the bottom of the page.
Add files Button
Clicking the “Add files” button opens up file explorer. Select the files you want to upload then click open. Once done click the “Upload” button at the bottom of the AWS page.
How to get a sharable url from AWS
Once you have files uploaded to your AWS, you can begin sharing them. First, navigate to the file you want to share. Next, locate the Object URL link. This is the link you need.

How to enter the information into Shop Uploader
These edited urls are needed to upload images and digital files from AWS using Shop Uploader.
Images
For images, you enter the edited url into one of the following columns
- image_url
- image_#
Your entry should be similar to the following image.

Digital Files
For digital files, you have to do a bit more work.
You need to enter information into the following columns
- Type
- digital_file_#
- digital_file_name_#
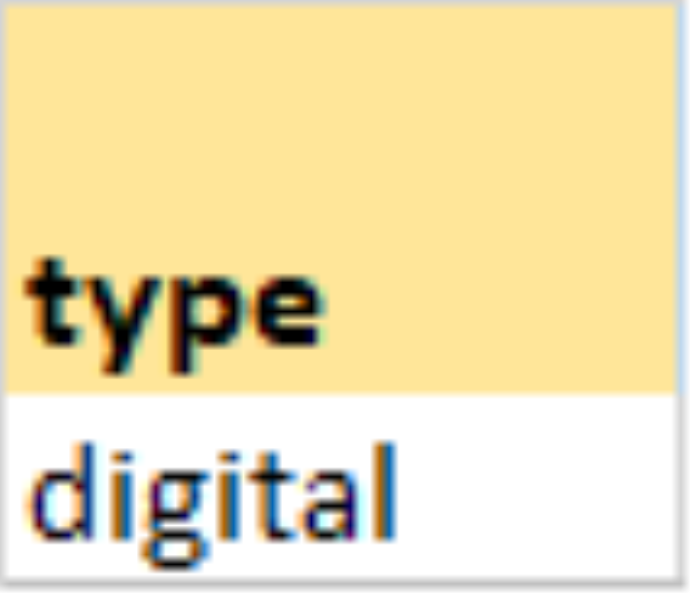
First, the type column must be set to digital if you want to upload digital files.

Next, paste the url into the digital_file_# column.

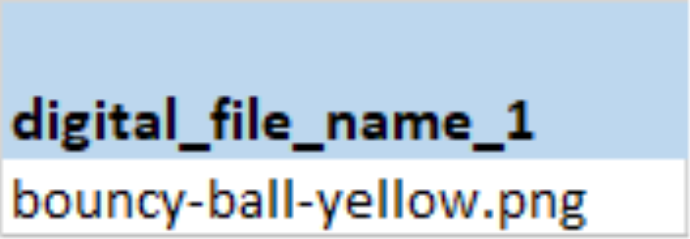
The last step is to enter your digital file’s name into the digital_file_name_# column.

If you do not provide this information, your customers won’t get proper file downloads. They will get the files, but they won’t contain a file extension.